

What Is a Comparator?
A comparator is a set of sealed ampoules containing color standards made of dye mixtures that closely match the color (hue) and intensity of CHEMetrics test ampoules when the tips are snapped in solutions of corresponding analyte concentrations.
By sealing the dyes in ampoules, we can more closely recreate the color generated in the test ampoules. CHEMetrics offers two types of comparators:
- A round comparator is cylindrical and is viewed through the length of the ampoule for low range measurements.
- A flat comparator is viewed through the width of the ampoule on a white background for high range measurements.
Follow these recommendations to obtain the most accurate readings using a comparator.
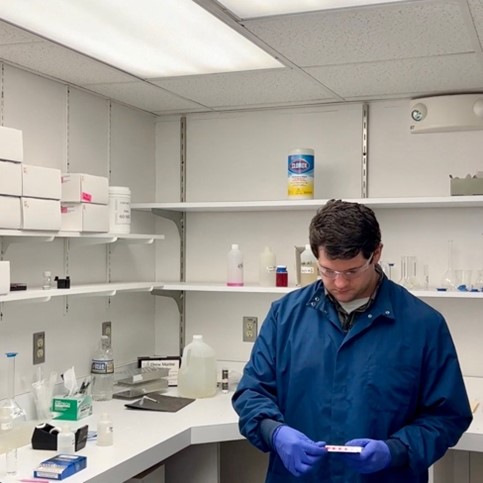
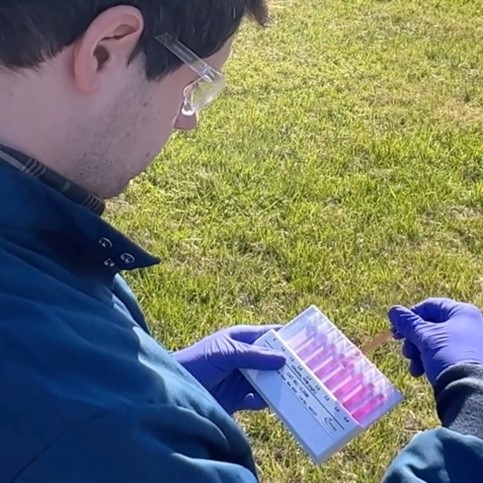
First Consider Your Light Source
The color of an object is affected by the light source. Fluorescent lighting is often appropriate for optimal color matching however, LED and natural outdoor light sources are adequate. If taking multiple readings, it is best to keep the light source as consistent as you can. Reading the comparator requires a moderate light source, like normal indoor lighting. Some sources, like full sunlight, can be too intense and may require some shade.
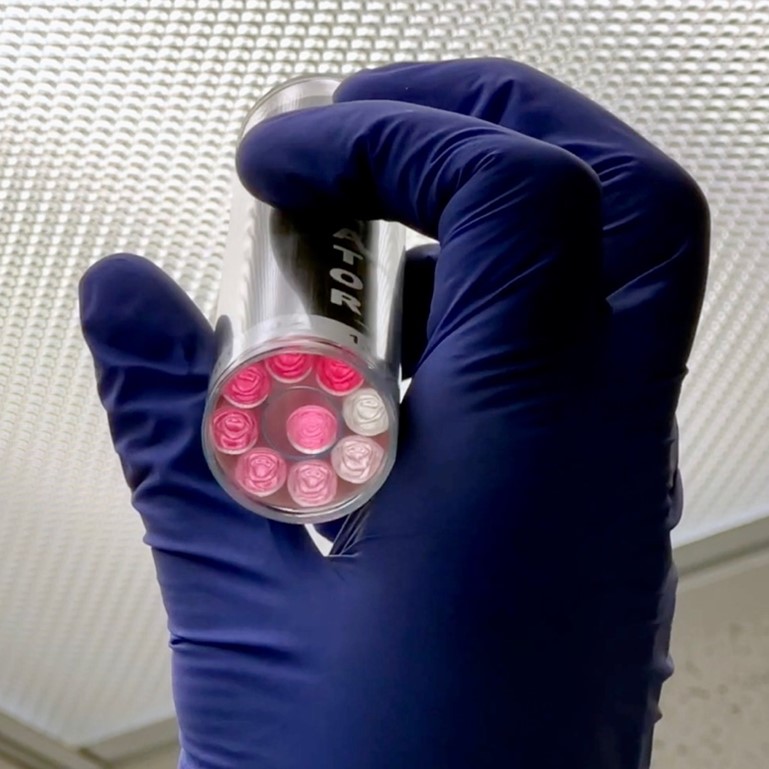
Reading a Round Comparator
When reading a low range comparator, insert the ampoule, flat end first, into the comparator, point the comparator toward the light source and view from the bottom. Align the test ampoule directly above the color standard with the lowest concentration. Then slowly turn the comparator counter-clockwise until the intensity of the test ampoule’s color appears to be the same as a color standard or in between those of two color standards. To help see subtle differences in intensity change the angle of the comparator slightly back and forth while rotating the comparator slowly. If the reading is between two color standards, consider where the intensity of the test ampoule falls between the two. The easiest way is to estimate by using fractions like halfway (1/2) between the color standards or 1/4th. Once you’ve determined a fraction, you can convert it to a concentration by multiplying it times the concentration difference between the adjacent color standards, and either adding this value to the concentration of the lower color standard or subtracting it from the concentration of the upper color standard, whichever it is closest to.
For example, here’s a scenario where a reading is a little more intense than the nearest color standard. The reading falls between 0.6 and 0.8 ppm. The analyst interprets the reading as being ¼ (or converting that to a decimal, 0.25), darker than 0.6 ppm. So, [0.25 * (0.8 – 0.6)] + 0.6 = 0.65 ppm.
If your reading is more intense than the highest color standard of the comparator, this means that the sample concentration is higher than the range of the round comparator. When available, compare the test ampoule to the flat comparator included in your test kit.
Reading a Flat Comparator
When reading a high range comparator it is very important to hold it in a manner that eliminates glare and reflection from your light source. This can be accomplished by angling the comparator relative to the light source until the light reflection disappears. Some analysts prefer to hold the comparator so the bubble is at the top of the ampoule while others like to angle the top of the comparator down to make the bubble disappear into the body of the comparator. Either method will work, but the latter method presents the color standard with a longer continuous color with which to match the test ampoule.
Next, the test ampoule should be placed between the first and second color standards at the left (lower concentration) end of the comparator and progressively moved to the right until the intensity of the test ampoule appears to be the same as or in between two color standards. Move the test ampoule one color standard further to the right to be sure its intensity is less than the color standard now to its left. If it is not clearly less intense than the color standard to its left then it is probably very close to, or equal to, that intensity. Make sure to vary the angle of the comparator to ensure that the intensity is really the same and its not a glare or shadow affecting the intensity. Once you are sure of the intensity you can get your reading in the same manner as with the low range comparator.
If your reading is more intense than the highest color standard of the comparator, the sample concentration is greater than the range of the flat comparator. Manually dilute your sample if appropriate or use a higher range test kit.
Color Matching Tips

Sometimes the color match between the test ampoule and the color standard is not ideal due to color impurities or turbidity in the sample. When this happens, it is important to distinguish the intensity of the color caused by the analyte from the color caused by the impurity.
CHEMetrics A-0004 Comparator Light Source
CHEMetrics offers a self-contained light source, or CLS, which incorporates an LED light with an adapter that is designed to be used with a round comparator. This device makes it easier to obtain test results in low-light environments such as power plants or any industrial setting where lighting conditions are poor.
Simply attach the CLS accessory to your comparator to illuminate the color standards. The CLS has been validated for use with CHEMetrics C-7518, C-7540 and C-7599 ppb Dissolved Oxygen and C-1001 Filming Amine comparators.
Conclusion
Our eyes are very good analytical “instruments”. CHEMetrics visual test kits permit water analysis measurements at very low analyte concentrations that rival laboratory optical equipment. Although reading a comparator is a simple task whether you are working in the field or the lab, new users may need some practice manipulating the test ampoules in the comparators to determine for themselves the techniques that work best for them. Check out the video tutorial below and if you have any other questions please contact us at technical@chemetrics.com